You might remember me blogging about this desk sometime back. Our friend Vic allowed us to buy it because she wanted it to be restored. Though this set needed a lot of work, it had to be done. Brown-Saltman pieces are hard to come by and deserve every chance at becoming new again. The first thing I had to deal with was the re-veneer of the top of the desk and drawer fronts.
Since the surface of this desk had wood loss in some areas, I had to fill it before I re-veneered it. You might be saying what should I use for a filler…….Bondo. This stuff is a great filler for projects like these.
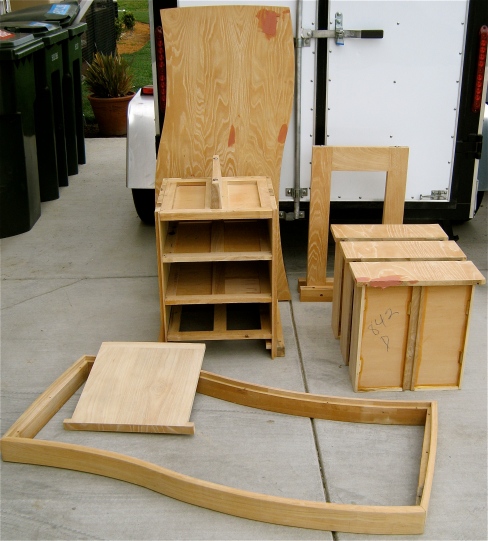
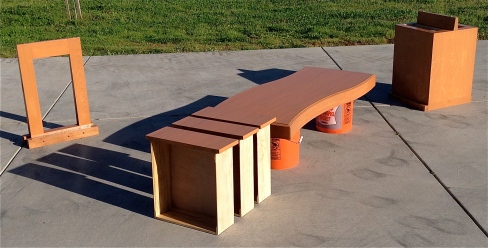
Here are the pieces with bondo applied and drying in the sun. Once the bondo is dry I will sand it flush with the surrounding surfaces.
The next step is to rough cut the veneer with excess to allow for trimming and adjustments. Once you apply the veneer glue to the under surface of the veneer and the surface of the desk and those surfaces come in contact, you will not be able to separate them again.

Here is an example of a process used when applying veneer. This is a great help to make sure a good fit. (click)
Once I applied the new veneer I trimmed off the excess and light sanded the edge and all surfaces to prepare for stain.

Next step is to apply the Heywood Wakefield champagne stain. The original look of these desks had a pickled finish. I am not too keen on that finish so I changed it up!
After 4 coats of the Heywood Wakefield stain the desk was ready for re-assembly.
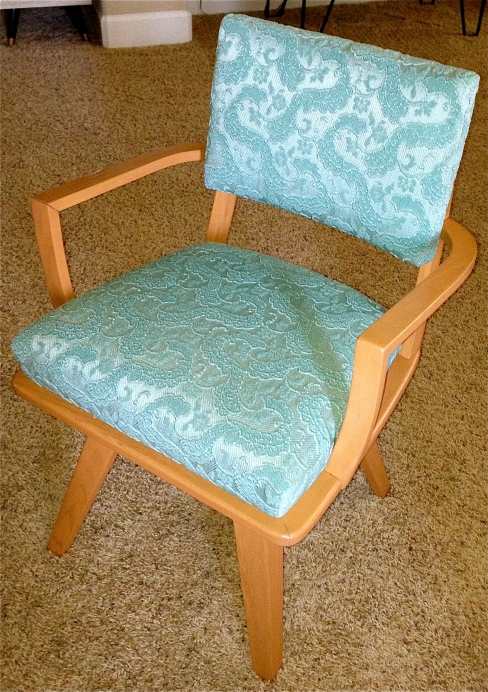
The chair was refinished the same way as the rest of the desk, once it was done I sent it over to Bill at B&T Upholstery to recover it in some fantastic teal frieze fabric, similar to the upholstery on our famous pink wing chair. Here are the results:
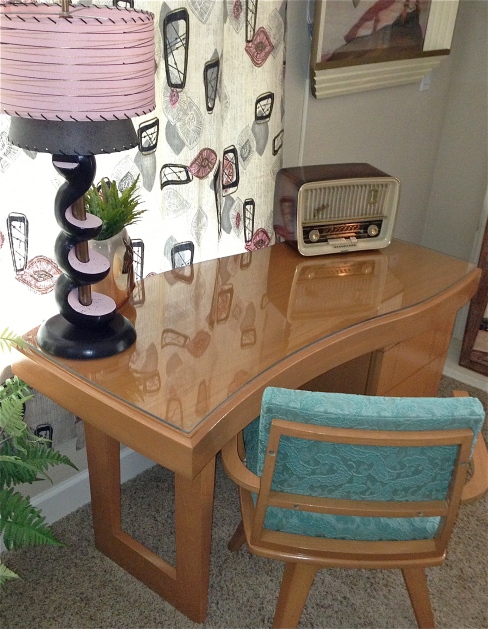
Now with the chair done and the desk re-assembled it, is now time to move it into our bedroom so Mel has a work station when she needs to work. We are pleased with the final results and will enjoy this piece for years to come.







Beautiful job! I learn so much from your posts…thank you for sharing!
LikeLike
Thanks, I am glad you like the results and I appreciate your support!
LikeLike
Super nice job Shane! I have a Lane ceder chest that I’m planning on reveneering the top and this gives me even more inspiration to start! Love the H/W finish for the desk!
LikeLike
Thanks David!!!
I’m glad to have inspired you :). You do the same for me.
LikeLike
You ain’t kidding – that is a definite WOW!
LikeLike
Thanks!!
LikeLike
What color of stain did you use?
LikeLike
I used the champagne Heywood Wakefield finish sold on eBay.
LikeLike
Oh honey, you HAVE TO KNOW I’m sitting here crying cause it’s so beautiful, and that it went to hands that would make it so. I would only have parted with it to you. Lord only knows what kind of mess I would have made of it myself. You have made my heart feel so good today and my HUUUGEST thanks go to you for something that meant so much to me. It is GORGEOUS and my greatest joy is that it will be enjoyed by you & Mel in your beautiful home. THANKYOUTHANKYOUTHANKYOU! So when do I get to come see it?!?!?! ~Vic~
LikeLike
One more thing – that upholstry is to DIE for! Wowza!
LikeLike
Thanks Vic for letting us have it. I am soo pleased you like it. We need to have you over to check it out.
LikeLike
Oh.my.goodness! I love that chair! I think my heart just skipped a couple of beats.
LikeLike
Thanks Desirae! It is all because of that vintage frize fabric.
LikeLike
What a wonderful restoration!
LikeLike